The clinic data migration checklist: export, map, verify.
A vendor-neutral checklist for moving your clinic's data to new software — what to pull out, how to map the fields, and how to prove nothing went missing. Works with any vendor.
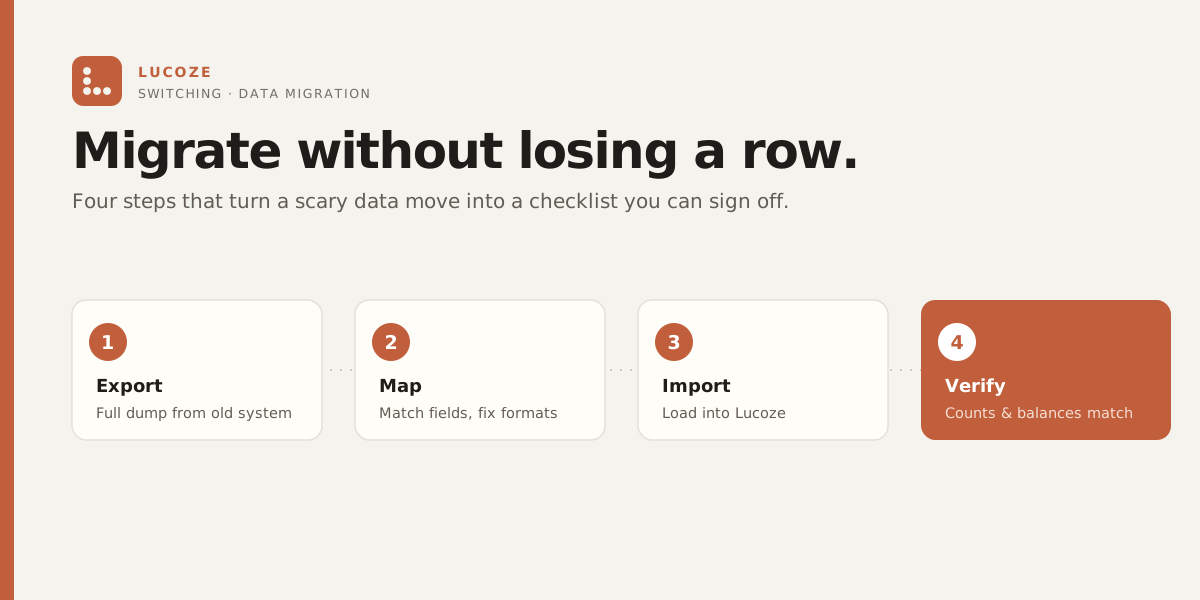
Most data-loss horror stories from a software switch are not caused by the software. They are caused by a migration that nobody checked. The patient master came across with 9,000 rows instead of 9,400, the outstanding balances didn’t add up, and nobody noticed until a patient argued about a bill that no longer existed in the system.
This is a checklist for avoiding exactly that. It is deliberately vendor-neutral — it works whether you are moving to us, to a competitor, or between two systems we’ve never heard of. If you follow it with any vendor, your migration gets a lot less scary. That is the whole point of writing it down.
It pairs with our companion piece on how to switch clinic software without a single day of downtime — that one is about sequencing the cutover; this one is about the data itself.
Step 1 — Export everything, not just patients
The most common mistake is exporting the patient list and calling it done. A clinic is more than its patients. Before you touch the new system, pull a complete export of everything the old one holds:
- Patient master and demographics — name, phone, age or date of birth, gender, address, and crucially the internal patient ID the old system used. That ID is the thread everything else hangs from.
- Appointment history — past and upcoming, with dates, doctor, and status. Upcoming bookings matter most; you cannot afford to lose next week’s schedule.
- Billing and invoice history, plus outstanding balances — every invoice, every payment, and the current amount each patient owes. Balances are the data most likely to cause a real-world argument if they come across wrong.
- Clinical notes and prescriptions — consultation notes, diagnoses, and prescribed medicines, linked back to the patient ID.
- Lab results and reports — structured values where they exist, and the scanned PDFs where they don’t.
- Pharmacy inventory and current stock — item list, batch and expiry, and live stock counts. Migrate this at the last possible moment, because stock keeps moving.
- Doctor and staff user list — who has logins, their roles, and their permissions.
If you can’t export something, that is information too. A field the old vendor won’t let you extract is a field you’re about to lose. Find out now, not on cutover day.
Step 2 — Get the right formats
Two formats cover almost everything. CSV or Excel for anything structured — patients, appointments, billing, inventory, user lists. This is what an importer can read row by row. PDF for anything scanned or free-form — old lab reports, signed consent forms, uploaded documents. These attach to the patient record rather than populate fields.
Ask the old vendor for the export in their most complete form. If all they offer is a printed PDF of a table, that is a red flag about lock-in — but it is still workable, it just means more manual re-keying and harder validation later. Know which data sets are clean CSV and which are trapped in PDF before you commit to a timeline.
Step 3 — Map old fields to new, and watch the gotchas
Field mapping is where quiet corruption creeps in. Every column in the old export needs a home in the new system, and the ones that don’t map cleanly are exactly the ones that break things. The usual offenders:
- Date formats. DD/MM/YYYY versus MM/DD/YYYY is the classic. A birth date of 03/04/1990 is either March or April depending on which system wrote it. Guess wrong across the whole file and every age is subtly off. Confirm the source format explicitly — don’t infer it.
- Phone numbers and duplicates. Indian clinics accumulate the same patient three times with 98765 43210, +919876543210, and 09876543210. Normalise to one format, then dedup on it — but dedup carefully, because two family members really can share one number.
- Gender and status codes. One system stores M/F/O, another stores 1/2/3, another spells it out. Map the codes deliberately. The same applies to appointment statuses and payment types — build the translation table before you import, not during.
- The patient ID link. If the new system assigns fresh IDs, keep the old ID in a field somewhere. Every invoice, note, and report is joined to the patient by that old ID — lose the mapping and you orphan the history.
Step 4 — Do a dry run before the real thing
Never let the first time you import your data be the live cutover. Run a full dry migration into a test environment first, with a real copy of the export, and see what actually lands — the broken date column, the unmapped status code, the 400 missing rows all surface while they still cost you nothing. Our importers are built to work this way, and any vendor worth switching to should offer the same. If they won’t do a test run, ask why.
Step 5 — Verify with counts, spot-checks, and totals
This is the step everyone skips and everyone regrets. Migration is not done when the import finishes; it is done when you have proven the data is intact. Three checks, in order:
- Record counts must match. 9,400 patients out of the old system means 9,400 in the new one. Same for invoices, appointments, and inventory items. A count mismatch is the loudest early signal something dropped, so check it first, on every data set.
- Spot-check a sample of real patients. Pick, say, 20 patients across old and new, busy and dormant, and open them side by side in both systems. Do the demographics, the last three visits, the notes, and the balance all match? If 20 random patients are perfect, you have real confidence the other thousands are too.
- Reconcile the billing totals. Sum total outstanding in the old system and in the new. They must tie to the rupee. If they don’t, you have a mapping bug in the money — the one place you absolutely cannot ship a mistake.
Write the numbers down — “Old: 9,400 patients, ₹4,82,300 outstanding. New: same.” A signed-off count sheet is what turns a nervous switch into a boring one.
Step 6 — Keep the old system read-only, and have a rollback
Even after a clean, verified migration, do not cancel the old system the same day. Keep it alive and read-only for a few weeks. One more month of subscription buys a safety net: if a gap surfaces three weeks in — an old report someone needs, a balance that looks wrong — the source of truth is still sitting there to check against.
That read-only copy is your rollback plan. As long as the old system can still answer “what did this record actually say,” a mistake is a correction, not a catastrophe. Archive it only once a full billing cycle has passed on the new system with no surprises.
Where Lucoze fits
Everything above is vendor-neutral on purpose — run it with whoever you choose and you’ll be fine. For our part, our importers are built to read standard CSV and Excel exports, keep the old patient ID as a linkable field, and we run a dry migration with a count-and-reconcile sheet before anything goes live. If you’re moving off a specific platform, our note on switching from Practo Ray walks through that path in detail.
If you’d like a second pair of eyes on your own migration plan — even if you’re not moving to us — reach out. We’re a small, early-stage team and happy to talk through your export and mapping, no pitch attached.